前言
现在pwn题是越来越高版本的libc,一场比赛ubuntu16.04,ubuntu18.04切来切去的十分难受。
极力推荐这个pwndocker,使用这个pwndocker就不用来回的切虚拟机,利用patchelf 或者process(["/path/to/ld.so", "./test"], env={"LD_PRELOAD":"/path/to/libc.so.6"})指定libc版本运行。
这个docker已经集成pwn常用工具以及各个版本libc。
included software
- pwntools —— CTF framework and exploit development library
- pwndbg —— a GDB plug-in that makes debugging with GDB suck less, with a focus on features needed by low-level software developers, hardware hackers, reverse-engineers and exploit developers
- pwngdb —— gdb for pwn
- ROPgadget —— facilitate ROP exploitation tool
- roputils —— A Return-oriented Programming toolkit
- one_gadget —— A searching one-gadget of execve(‘/bin/sh’, NULL, NULL) tool for amd64 and i386
- angr —— A platform-agnostic binary analysis framework
- radare2 —— A rewrite from scratch of radare in order to provide a set of libraries and tools to work with binary files
- seccomp-tools —— Provide powerful tools for seccomp analysis
- linux_server[64] —— IDA 7.0 debug server for linux
- tmux —— a terminal multiplexer
- ltrace —— trace library function call
- strace —— trace system call
included glibc
Default compiled glibc path is /glibc.
- 2.19 —— ubuntu 12.04 default libc version
- 2.23 —— ubuntu 16.04 default libc version
- 2.24 —— introduce vtable check in file struct
- 2.27 —— pwndocker default glibc version
- 2.28~2.31 —— latest libc versions
How to run in custom libc version?
1 | cp /glibc/2.27/64/lib/ld-2.27.so /tmp/ld-2.27.so |
or
1 | from pwn import * |
具体参考 https://github.com/skysider/pwndocker
18.04 skysider/pwndocker 安装
docker hub 可以直接pull1
docker pull skysider/pwndocker
但是pull的太慢了,我已经把他传到了阿里云上,用下面这条命令即可
1 | docker pull registry.cn-hangzhou.aliyuncs.com/pwndocker/pwndocker-nocbtm:1.0 |
pull完之后重命名一下
1 | docker tag registry.cn-hangzhou.aliyuncs.com/pwndocker/pwndocker-nocbtm:1.0 skysider/pwndocker |
使用姿势
建议用官方的使用姿势,用如下命令run起来
1 | docker run -d \ |
其中有两个重要的参数
-v $(pwd)/${ctf_name}:/ctf/work 是将当前目录下的文件映射到 docker /ctf/work目录下
这样你在物理机修改文件,docker里面也会发生变化,就不用再docker cp了
–cap-add=SYS_PTRACE 这个参数也是要一定加的,不然docker里面没法用gdb调试。
可以把上述命令放到 pwndocker_run.sh里面 方便下次使用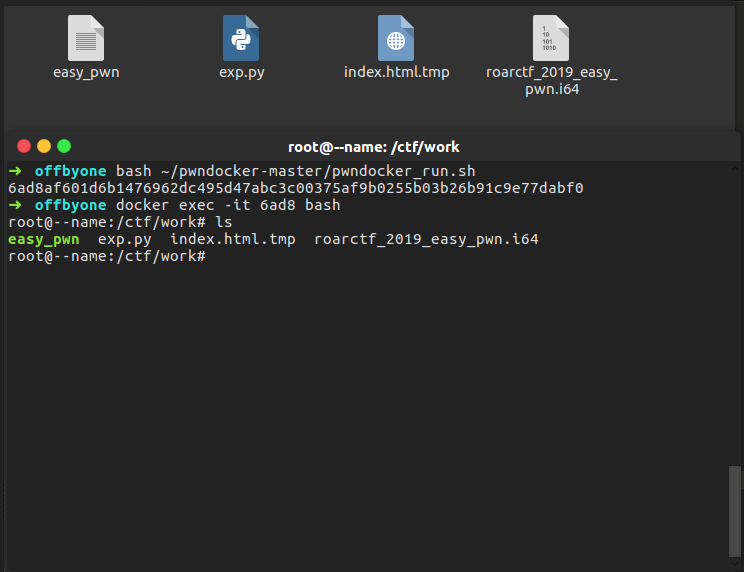
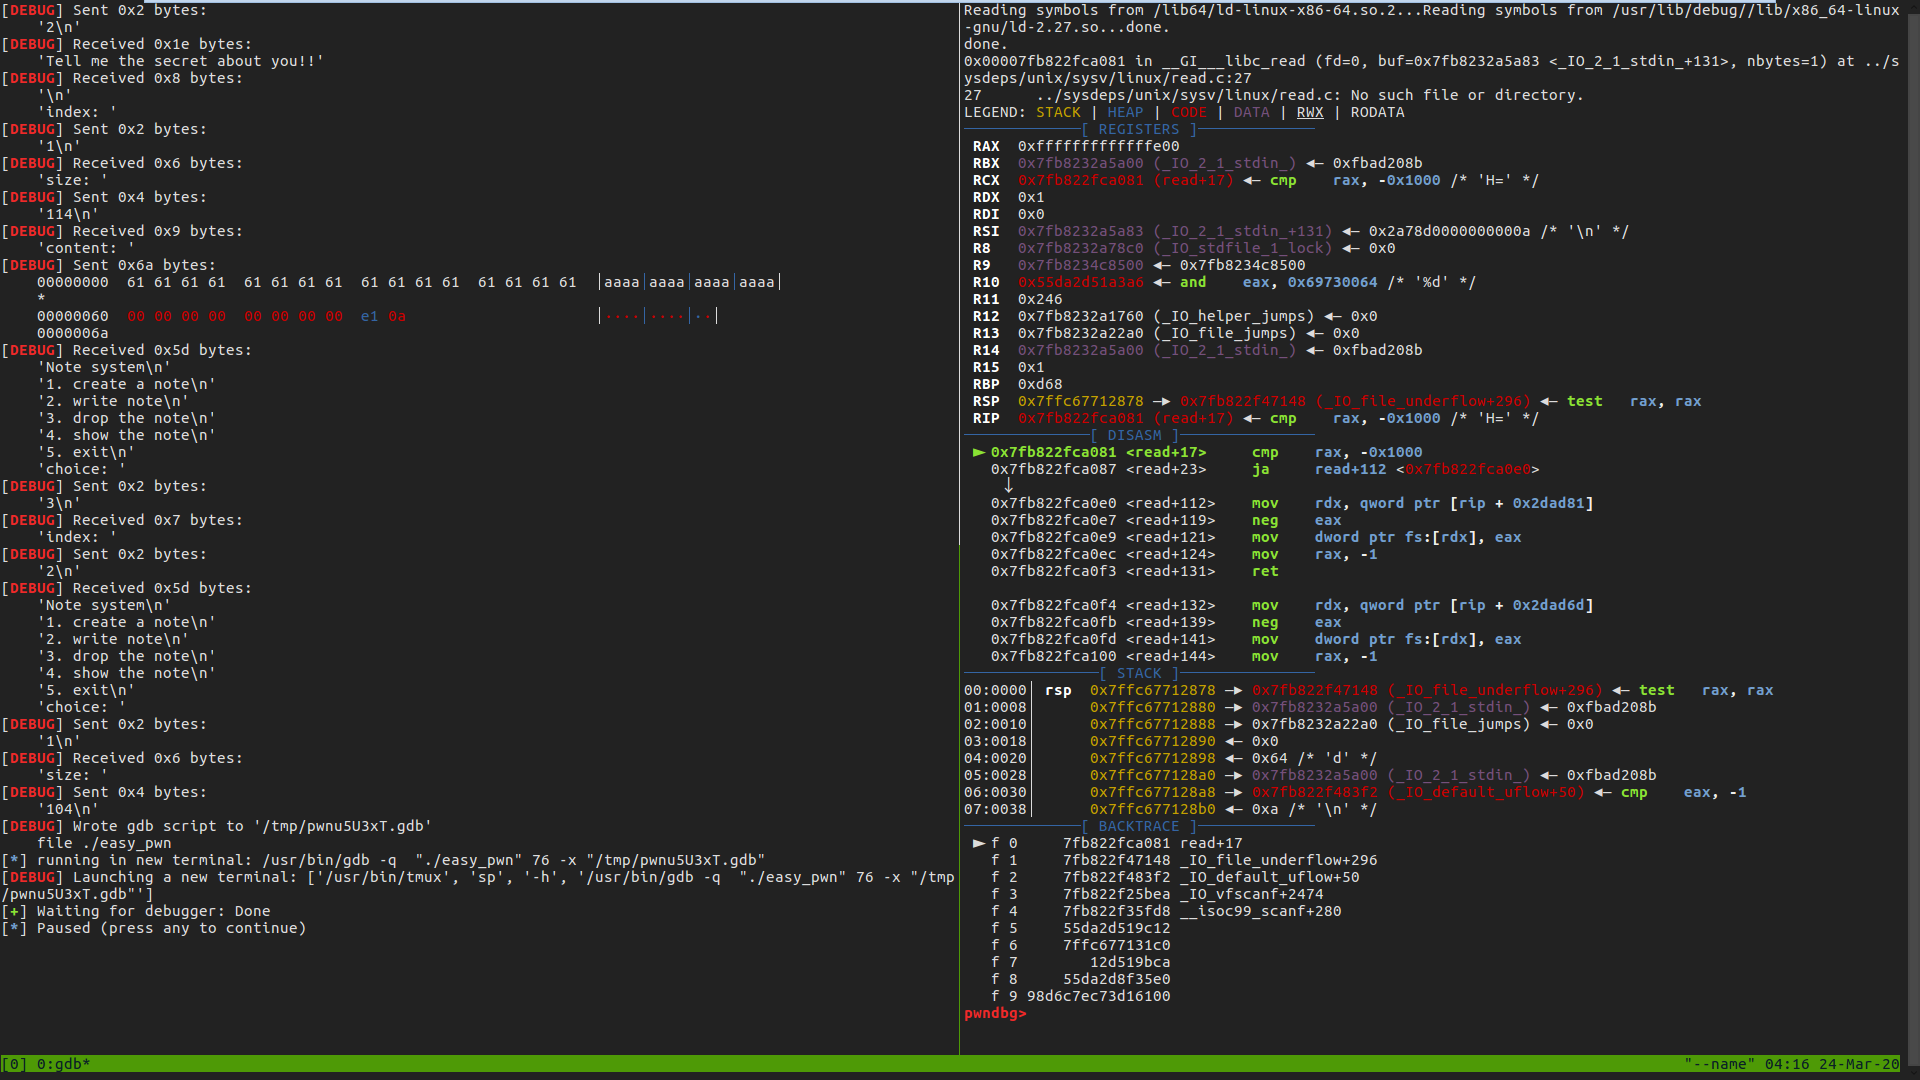
然后调试脚本时,要先进去tmux ,python脚本里面指定终端为 tmux1
context.terminal = ['tmux', 'sp', '-h']
就可以 gdb.attach(p)了 如下图